Goldsmiths University, Design & Environment first session
October 19th, 2011 by Cesar Harada20:15, 2011 10 11 London, UK.
Original post here : http://www.designandenvironment.co.uk/2011/10/aerial-mapping-session
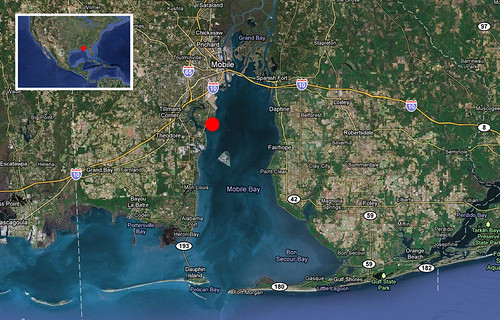
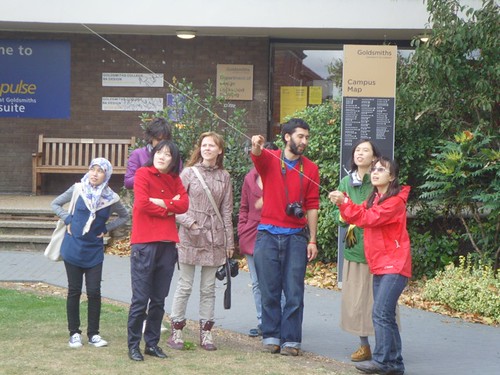
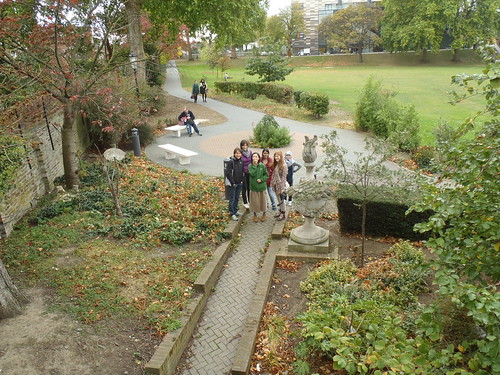
Today, we went out mapping, or more precisely doing aerial photography, flying a digital camera under a nice big green balloon from the green of Goldsmiths University London. The MA is Design at Goldsmiths has an option called “Design & Environment” supervised by Prof Jennifer Gabrys. It is a course that initiates students to alternatives design and environmental methods and pratices. This hands-on experiment was lead by Cesar Harada acting both as Goldsmiths tutor and Public Laboratory instructor. The mappers -who are also the authors of this post- were Anuja Uttamrao Borker, Inessa Demidova, Shan-Yu Hsu, Dk Hajah Hazwani Pg Dato Haji Jaberudin, Federica Sterpos, Chian-Yun Yang, Yifan Zhang, Elvira Grob (group picture).
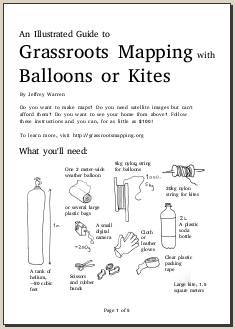
The kit
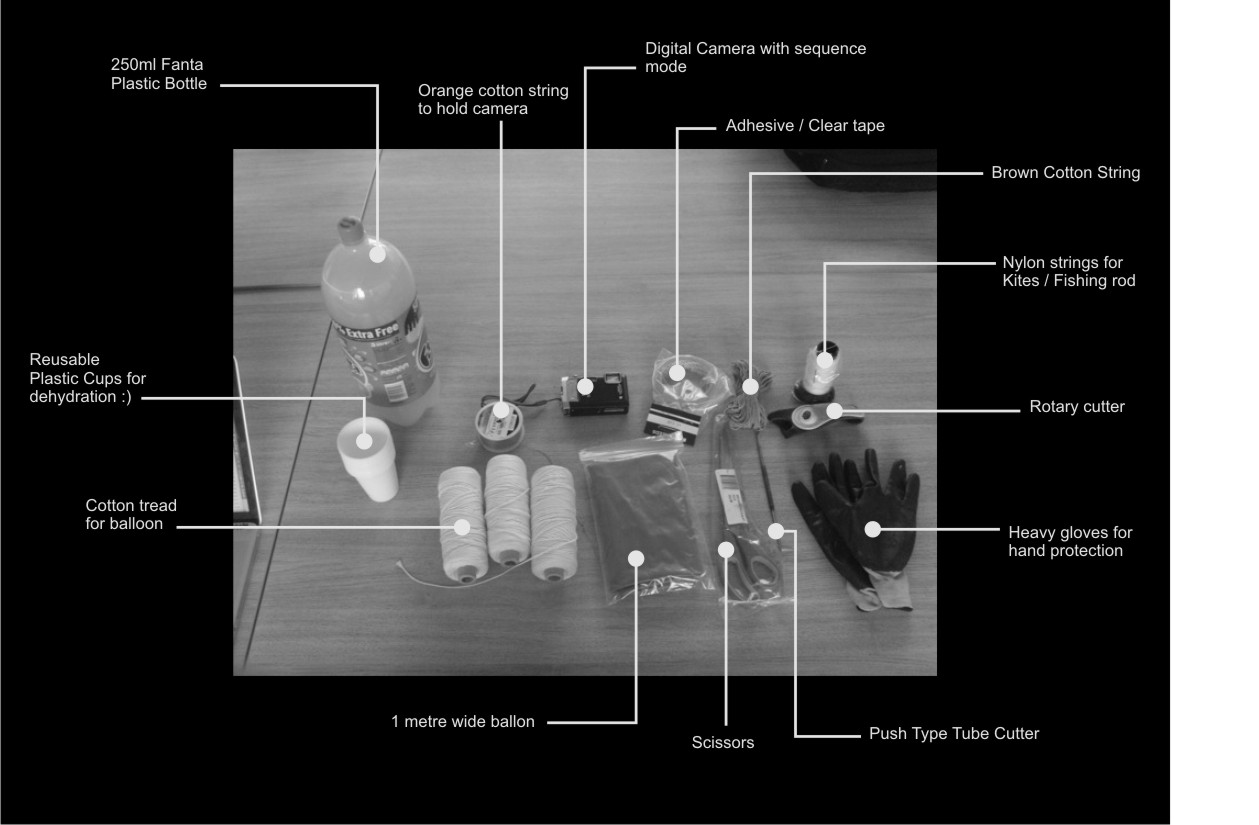
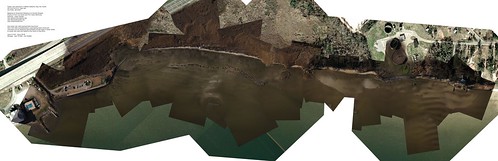
<Hazwani> The purpose was to capture many images of Goldsmiths open-field area and its surrounding. In order to have these continuous green images, we created a flying balloon digital camera. We did not need complex materials to make it.
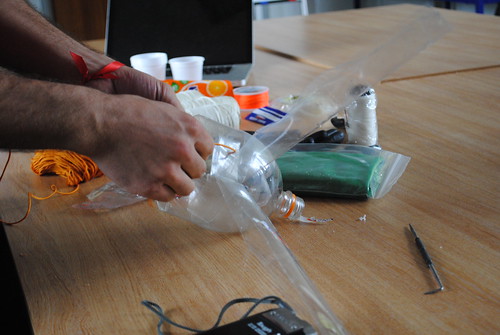
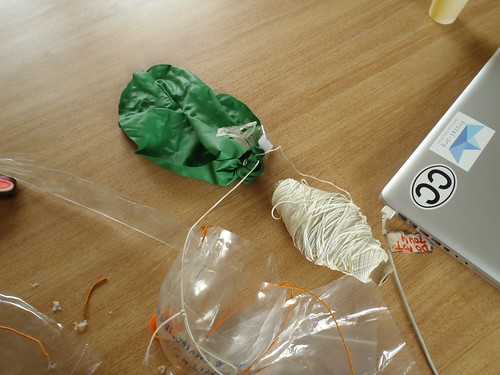
- 1. Create your soda bottle camera rig
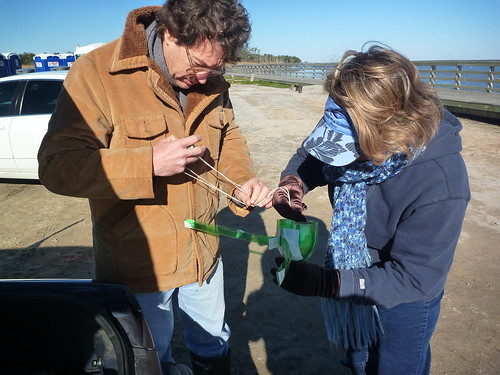
First of all we cut our 3l Fanta plastic bottle into half in order to place the digital camera inside the bottle top, attached with orange string onto our camera and through the bottle neck. Instead of the rest of the bottle ends up in the bin, we used it to create wings so that it becomes stable once it is up in the sky. We cut it into strips and fold them so that it became straight and folded as a rotor blades. In order to ensure the strings would not slip away, we had to make sure the cotton string was tightly taped down onto our camera.
- 2. Load the balloon
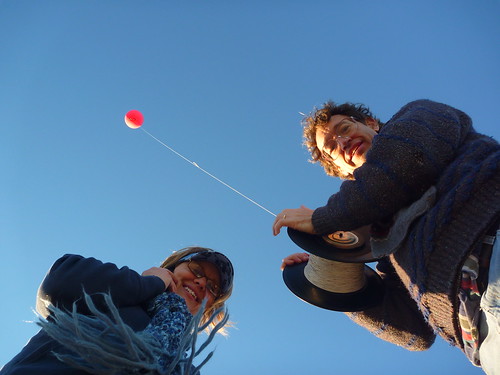
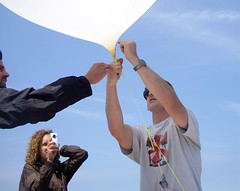
Once we got everything prepared in the studio, all of us and our tutor then rushed our way behind Lockwood Building to inflate our 1 metre balloon slowly with helium. While filling the balloon, Shanyu, Fedrica and Elvira helped our tutor to hold the huge balloon so that it would not touched the ground and the things around. The other four of us were taking pictures and making notes of the process.
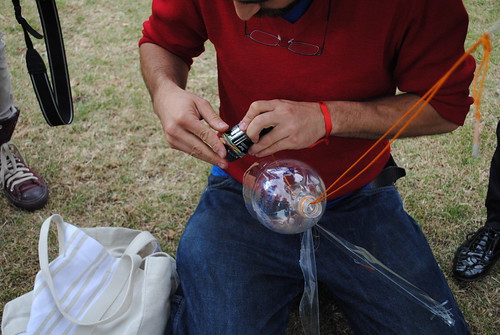
- 3. Set your camera
Before we launched our balloon, we had to make sure that we set our camera on continuous mode. Then we added a bit of card paper to hold down the camera trigger and used few rubber bands to hold the paper in place. Afterwards we put on the Fanta cap once the camera was securely in place. Make sure you test bounce your camera beforehand so that it would not fall out.
- 4. Finally Up! Up! – Let the balloon fly!
Roughly about 12pm at Goldsmith open field, we let our balloon rise up into the sky as quick as we can so that the wind would not prevent us from letting it rise and we take turns to wind the strings carefully. We also had to make sure that we wear protective gloves beforehand, in order to protect our hand form getting string burns and ensure that we do not let the string tangled up. We flew for almost an hour and a half mapping the green field – and the materials to make were just simple! </Hazwani>
The weather conditions
<ChianYun> It was a cloudy day, not perfect for taking pictures. The wind was generally from the west, sometimes changed its direction. It blew strongly. Once we passed building high, the wind became too strong and limited the rising of the flying balloon, made it difficult to control the balance. At least, it didn’t rain. </ChianYun>

The Flight
<Shanyu Hsu> The big balloon gradually flew into the sky. Because of strong wind, the balloon moved horizontally rather than vertically. In order to avoid it from hitting the main building, we tried to pull back the line connected with the balloon for a while and then released it again, such as playing kites, for a couple of times. Luckily, the balloon flew higher and higher. The flight route of our balloon was determined by the strength and direction of wind.</Shanyu Hsu>
The Crash
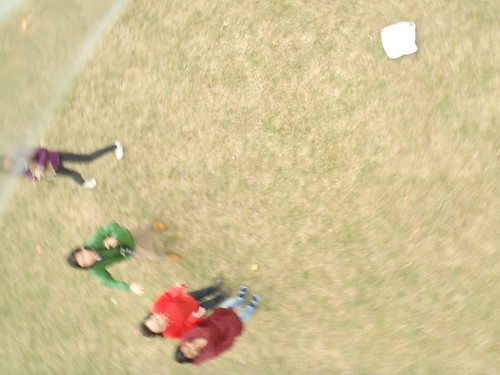
<Federica> The wind brought the balloon close to the trees, we could not control the balloon or change its course. The balloon exploded and crashed into a tree. Our tutor Cesar Harada climbed up to the roof to go and check the camera. Everybody was worried the camera would be broken… and if the experiment would be failed… The tutor finally found the camera with the rest of the material in neighbours garden.</Federica>
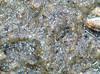
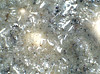
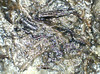
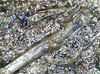
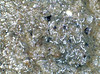
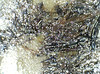
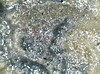
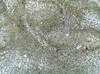
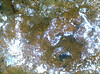
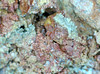
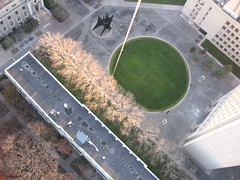
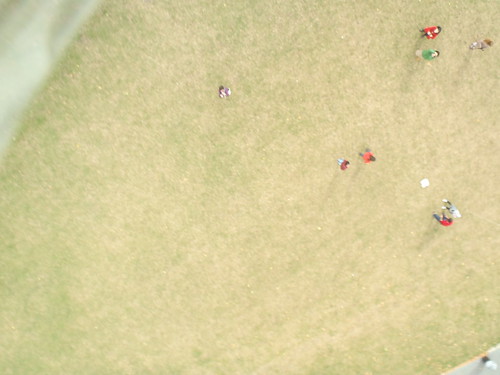
Pictures Cesar took after he found his camera following the crash, we are so emotional on them!
Final Outcome
<Inessa> When we finally got to our classroom and saw photos it turned out that the camera switched off shortly after the start of ballooning, probably the rubber band slipped off the button. As a result we have got only a few pictures and most of them were quite blurry. </Inessa>
<Anuja> So, in spite of the bad weather conditions, we got a few good pictures. Most importantly, we learnt a useful technique in photography and mapping. Hopefully, we will have better luck with the weather next time and it will be bright, sunny and non-windy. But overall it was a fun, educative and interesting experience.
The “broken rig”
Next steps
The next step would be to go map again and stitch the photograps to form a single map of the entire area.</Anuja>
<Inessa>To do so we need to use specialized software of Adobe Photoshop. Some kind of panorama-making software might be used to automatically stitch photos and get pretty neat aerial view of area with all the details. After that this images might be used for a wide range of purposes. </Inessa>
What Mapping can be used for. Historical perspective. Contemporary use of aerial photography.
</Yifan> Mapping can be used for field-based research but can also be used for divergent thinking in a very wide range of field.

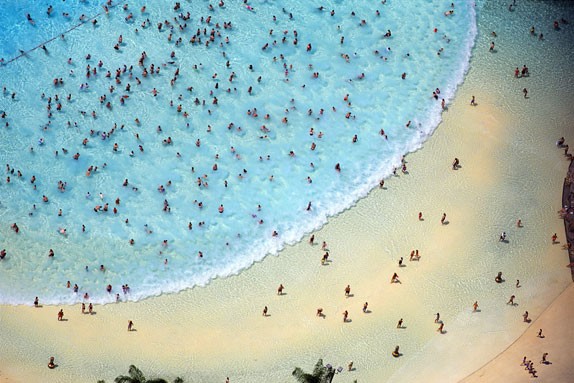
Image found here.
Aerial mapping can be a useful tool to analyse a location from the past to present day, tracking its development over time. For Example, it can be used in urban planning (architecture, landscape and etc.), human and animal habitat study, to give people a clear indication of how a development may impact the environment.
From a historical perspective, mapping has been used in a vast diversity of fields, from scientific to artistic to critical political purposes. Not only the scope of mapping has been rapidly developed, also the technologies have progressed.
The contemporary use of aerial photography can be seen from different scales of work, such as environmental projects, film shooting and city planning. It gives an opportunity to both professional and the general public to have an intuitive understanding how themselves relate to the whole, and think out of box! </Yifan>
<Inessa> The main feature of “grass-root” mapping is that it is relatively inexpensive and allows us to create quite high-quality images with relatively small efforts, that can be used by almost everyone who need it. So, not only government and big corporations, but small organisations and even students can get all the advantages of aerial photography.</Inessa>
<Cesar> PS : We still have a lot of helium in the cylinder – for possibly 2 flights. The weather conditions were not very good today unfortunately, who is interested in doing another mapping session? Please say it in the comments 🙂
For UK reference, we ordered our equipments here :
- Balloon £13.27 : Balloons.co.uk (this balloon is big but fragile, don’t inflate too much, it will burst after a few minutes. I recommend buying 2 and stay well under burst point)
- Line £25.8 from the Balloonshop.com
- Helium £83.91: from BOC “grey day helium”, 9.1 m3, Type of cylinder : L (it is huge, you need 2 people to move it around), £68.88 Cylinder, £15.03 Delivery, Product serial number : 101720-L
- Camera : Olympus TG-810
Special thanks to Jane Godsal, UK-based-Balloon-artist for her precious advices ! </Cesar>